Container timing
In short: Add the containertiming attribute to important sections or components to collect when their visible content is painted as custom metrics in RUMvision.
Container Timing is useful when you want to measure a complete section or component rather than one specific image or text element.
By adding a containertiming attribute, you tell the browser which container you want to observe. As visible content inside that container is painted, the browser can expose timing entries that RUMvision collects as metrics.
containertiming="product-variants"
Unlike Element Timing, Container Timing can continue producing entries when more visible content is added to the same component later. This makes it particularly useful for dynamic interfaces and client-side rendered content.
For a more detailed introduction, implementation examples and current browser support, see our Container Timing blog article.
What you can collect
RUMvision supports Container Timing as a custom metric.
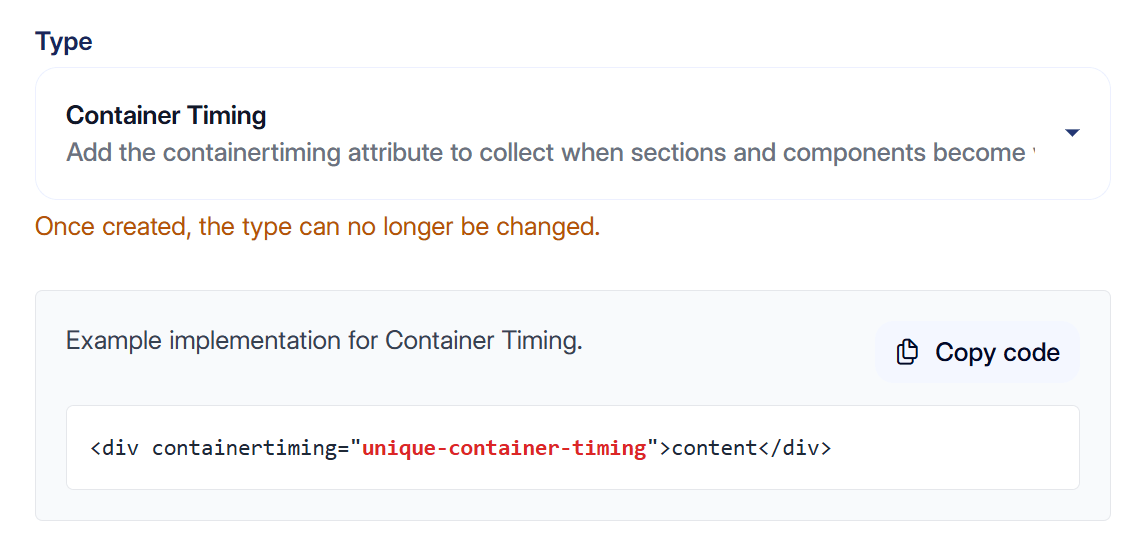
The metric represents when visible content inside a configured container was painted.
For example:
containertiming="checkout-summary"
You can then create a Container Timing custom timing in RUMvision using:
checkout-summary
RUMvision will observe entries with that identifier and make the resulting timing available as a metric in your charts and analysis.
How Container Timing differs from Element Timing
Element Timing is designed for specific supported elements, such as images or text-containing elements.
Container Timing instead allows you to mark a broader section of the page by wrapping multiple elements in a div or section, and mark that as hero:
section containertiming="hero"
This lets you measure the component as a whole rather than choosing one individual child element.
Another important difference is that Element Timing is effectively a one-shot signal for an element. Container Timing can emit additional entries when more content inside the marked container is painted later.
That makes Container Timing especially useful for components that render progressively.
Choosing good containers
Use Container Timing for components that are both visible to users and meaningful to the user experience.
Good examples include:
- hero sections;
- product variant selectors;
- checkout summaries;
- search results;
- cookie notices;
- recommendations;
- reviews;
- third-party widgets.
Choose stable and recognizable identifiers such as:
containertiming="hero"
  containertiming="product-variants"
  containertiming="checkout-summary"
  containertiming="consent-banner"
Avoid identifiers that contain product IDs, user-specific values or other highly dynamic information. This would create many different values and make the resulting data harder to analyse.
Client-side rendered components
Container Timing is not limited to server-rendered HTML.
It can also be used for components that are populated by JavaScript later in the pagelifecycle. This makes it useful for React, Vue and other client-side rendered applications, as well as components loaded by third-party scripts.
The important requirement is that the containertiming attribute exists before the paint you want to measure happens.
Adding the attribute after the relevant content was already painted will not retroactively create the missing timing entry.
Progressive rendering
A marked container can produce multiple timing entries.
For example, a product component might first render its title and price, while product variants or availability information appear later.
Container Timing can report these subsequent paints as new entries.
This creates an important question: which entry represents the moment that component is useful or complete for your visitors?
RUMvision provides additional configuration for controlling which entry is ultimately collected.
Controlling when RUMvision stops tracking
You can use the data-container-timing-until attribute to further configure how RUMvision handles Container Timing entries.
For example:
containertiming="product-variants" data-container-timing-until='{"entries":1}' RUMvision supports configuration such as:
entriesto stop after a specific number of Container Timing entries;interactionsto stop after a number of user interactions;- interaction-specific limits for events such as clicks or key presses;
lcpto stop collecting once LCP has occurred;subtractto subtract another timing, such as FCP;valueto choose which numeric timing value from the Container Timing entry should be reported.
This lets you adapt the metric to the behaviour of the component you are measuring.
Choosing the timing value
Container Timing entries can expose multiple timing values.
By default, RUMvision uses presentationTime when available and falls back to startTime.
You can override this using the value configuration:
containertiming="product-variants" data-container-timing-until='{"value":"paintTime"}' This can be useful when you specifically want to collect another numeric field from the Container Timing entry.
Measuring time after FCP
An absolute component render time does not always tell the complete story.
For example, if the whole page starts rendering late, a component may also receive a high Container Timing value even though that component itself was not responsible for most of the delay.
You can therefore subtract another metric such as FCP:
containertiming="consent-banner" data-container-timing-until='{"subtract":"fcp"}' This allows you to analyse how much additional time passed between FCP and the component becoming visible.
That can make the metric more actionable when investigating delayed components.
Ignoring content inside a container
Not every visible update inside a component is necessarily relevant.
For example, a cookie notice may contain buttons or controls that should not affect the timing you care about.
You can exclude such elements using containertiming-ignore, for example on buttons:
button containertiming-ignore
This can also be useful for placeholders, skeleton loaders or other UI elements that should not contribute to the component timing.
Example use cases
Container Timing is especially useful for components whose availability matters to the user but which are not reliably represented by Core Web Vitals.
For example:
- A product variant selector can determine when a visitor is able to choose a product configuration.
- A search result grid can represent the actual moment search becomes useful.
- A checkout summary can indicate when a customer has enough information to continue.
- A cookie notice can block access to the page while not consistently becoming the LCP element.
- A third-party widget can be measured independently from the rest of the page.
- Recommendations or reviews loaded through JavaScript can be measured when they actually become visible.
This helps answer a more specific question than page-level metrics alone:
When did this particular part of the page actually become visible to the user?
Browser support
Container Timing is still an experimental API.
At the time of writing, it is available through a Chromium Origin Trial rather than as a broadly supported stable web platform feature.
This means collected Container Timing data should currently be treated as experimental field data. API behaviour, timing fields and browser support can still change as the specification evolves.
For current implementation details, Origin Trial information and examples, see our Container Timing blog article.
